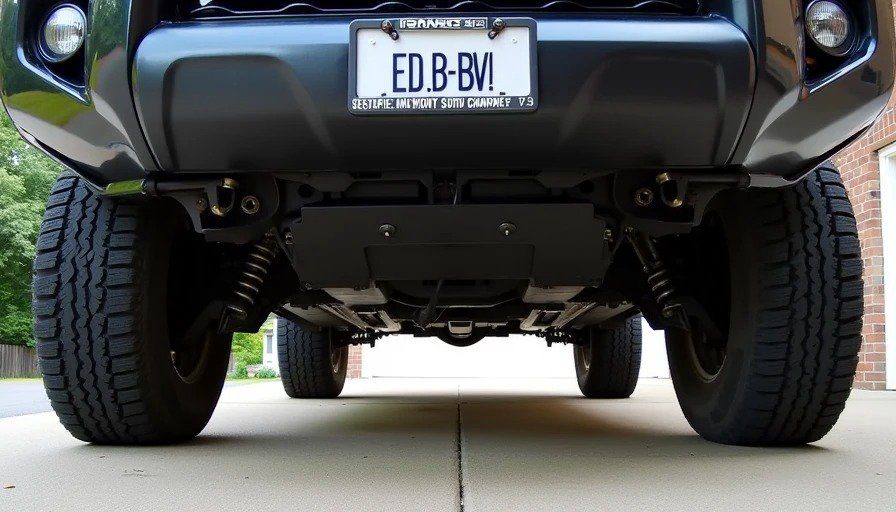
I bought my 2016 4Runner Trail in the spring of 2020. It had 42,000 miles on it, a clean Carfax, and not a scratch on the undercarriage. It was bone-stock, fresh off a lease, and the previous owner had clearly never taken it off pavement. The skid plates didn't have a single rock ding. The tires still had the little rubber nubs on the sidewalls.
I drove it home thinking, "This is the one. I'm going to build this right, once, and never touch it again."
That was five years ago. Since then, I've:
Installed and removed three different suspension setups
Blown up two rear differentials
Rewired the electrical system twice
Replaced the entire front suspension geometry after a bad alignment wrecked the UCAs
Pulled the body off the frame and rebuilt the whole thing from the ground up
Spent more money on parts than I care to add up
Learned more than I ever wanted to know about what not to do
This is the story of that build. The good, the bad, and the expensive.
Phase One: The "I Know What I'm Doing" Phase (2020)
The Initial Build
I'd been out of the shop for two years when I bought the 4Runner. I'd installed hundreds of lift kits, but I'd never built a 5th-gen 4Runner for myself. I was confident, maybe too confident.
Here's what I did in the first three months:
Suspension: 3-inch spacer lift. I know. I should have known better. Spacer lifts on IFS (Independent Front Suspension) are cheap and easy, but they don't improve performance. They just push the suspension down, giving you less droop travel and harsher ride quality. I installed it anyway because I was impatient and didn't want to spend the money on a proper coilover setup.
Tires and wheels: 285/70R17 BFGoodrich KO2s on 17x8.5 Method wheels with -12 offset. This was actually a decent choice — the KO2s are solid tires, and the Methods are strong. But the -12 offset pushed the tires out beyond the fenders, which meant I needed aftermarket upper control arms to correct the alignment.
Upper control arms: SPC adjustable UCAs. Good brand, solid parts. I installed them myself, set the alignment to "good enough," and called it done. This was a mistake.
Rear suspension: The spacer lift included rear spacers as well. The rear springs were factory, just jacked up with spacers. The ride was harsh, the rear axle was poorly located, and the truck handled like a shopping cart on the highway.
Armor: I put on RCI skid plates (aluminum, full set) and Shrockworks sliders. Both are excellent. The sliders have saved my rocker panels more times than I can count. The skid plates have taken hits that would have punctured the oil pan or transmission.
Recovery: Warn 9.5xp winch, synthetic rope, wired remote, factory bumper mount with an aftermarket winch plate. This was done right.
The mistake I made in this phase: I built the truck for looks, not for function. The spacer lift looked good but performed poorly. The UCAs weren't aligned properly, which created a driveline vibration and ate tires unevenly. And I didn't re-gear the differentials for the 33-inch tires, so the truck was sluggish off the line and ran at higher RPMs on the highway.
What Broke First
The front diff. Seven months in.
I was running the White Rim Trail in Canyonlands — not a hard trail by any means — but I had a bad line on a rocky section and the front tire slammed down hard under power. The ring gear in the front differential had been under stress from the oversized tires and the stock gearing. That hit was the straw that broke it.
I drove home in 2WD, listening to the grinding sound from the front axle. The gear teeth were chipped, the case had a hairline crack, and the whole thing needed to be replaced.
Cost to fix: $1,800 for a rebuilt front diff with 4.56 gears.
Lesson learned: If you go to 33s, re-gear the diffs. Stock 3.73 gears are not enough. The truck is sluggish off the line, the transmission hunts for gears on the highway, and the diff gears are under more stress than they're designed for. Re-gear to 4.56 or 4.88 before you break something. I learned that the expensive way.
Phase Two: The "I'm Doing This Right" Phase (2021-2022)
The First Real Suspension
I tore out the spacer lift and installed a proper suspension system.
Suspension: Dobinsons MRR (MRA) 2.5-inch coilovers with external reservoirs. Front springs: 700 lb/in. Rear springs: medium-duty, matched to my vehicle weight with the armor and rear cargo.
The difference was night and day. The truck actually handled. The ride was controlled and compliant on washboard roads. The suspension moved when it needed to — the droop travel doubled what it had been with the spacers. The external reservoirs kept the shocks cool on long, rough sections.
This is what I should have done from the beginning.
Re-Gearing
I re-geared both diffs to 4.56:1. This was the right move for the 33-inch tires. The truck drove like stock again — the gearing matched the tire size, the transmission shifted at the right points, and fuel economy actually improved because the engine wasn't working as hard.
Parts: Nitro Gear & Axle 4.56 ring and pinion sets, front and rear. Master install kits.
Install: I had a shop set up the gears. This is not a beginner job — setting ring and pinion preload requires a dial indicator, a torque wrench, and the patience to do it right or risk ruining the whole set. I had it done correctly.
The Rear Locker
I installed an Eaton E-Locker in the rear diff. Selectable, electronic engagement.
Install: Factory 4Runners don't come with a rear locker in the Trail trim (only the TRD Pro got one in later years). I had to modify the axle housing to accept the locker, run the wiring harness, and install the switch in the cab.
The Eaton locker is controlled by a simple toggle switch. Engage it, and the rear axle locks solid. Disengage it, and it's an open diff. I've been running this setup for three years now with zero issues. It's the single most effective modification I've made.
What I learned: If you're adding a locker to a 5th-gen 4Runner, plan for the wiring. The factory harness doesn't include the locker wiring, so you're running your own from the cab to the axle. Use quality wire, waterproof connectors, and secure it to the frame with plenty of slack at the suspension drop. I didn't do the slack correctly the first time — the wire pulled taut on full droop and broke the connection. Had to rewire it on the trail with butt connectors and electrical tape. Embarrassing.
Phase Three: The Frame-Up Rebuild (2023)
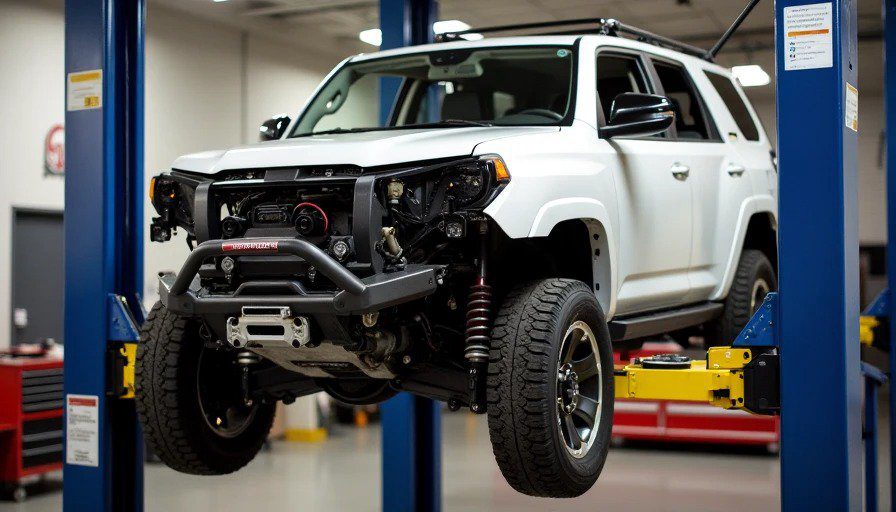
Why I Pulled the Body Off
The truck had 85,000 miles on it at this point, with about 40,000 off-road miles. The frame was fine — surface rust in spots but structurally solid. But the suspension mounts were bent, the body mounts were cracked, and the factory seam sealer had started to separate in the wheel wells.
The problem was the geometry. The original factory suspension geometry on the 4Runner is designed for a 1.5-inch lift maximum. I was running a 2.5-inch lift with aftermarket UCAs and extended links. The factory mounts and bushings weren't designed for the extended travel and the added stress.
One of the front shock mounts developed a hairline crack. I noticed it during a pre-trip inspection. That's when I decided to do the full rebuild.
The process:
Disconnect all the wiring, brake lines, fuel lines, and cooling lines
Unbolt the body mounts from the frame
Lift the body off the frame with a hoist — you need a two-post lift or a very sturdy overhead beam
Roll the chassis out from under the body
What I found under there:
Bent rear lower control arm mounts
Cracked front shock mount (the one I'd spotted)
Three broken body mount bolts
Corrosion on several wiring harness connectors
A rear brake line that was chafed and almost ready to fail
The Rebuild
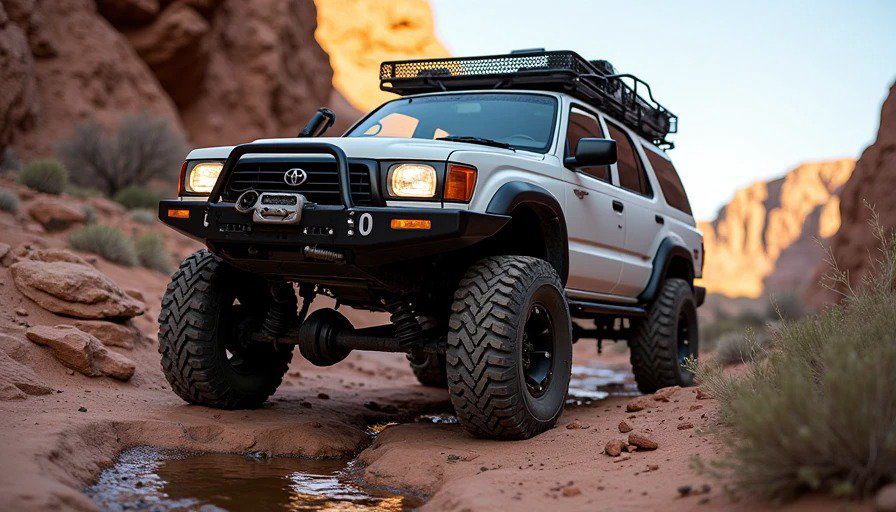
Here's what went into the rebuild:
Reinforced suspension mounts: I had a local fabricator cut and weld 1/4-inch plate reinforcements to all the suspension mount points — front shock mounts, rear shock mounts, lower control arm mounts, and track bar mount. The factory mounts are stamped steel and not designed for the extended travel. This solved the problem permanently.
Body mount replacement: All eight body mounts were replaced with polyurethane bushings from Energy Suspension. The factory rubber had started to compress, letting the body shift slightly on the frame. The poly bushings are stiffer, which transmits a bit more road noise but keeps the body in position.
Full underside coating: I stripped the factory undercoating and rustproofing from the frame, treated the surface rust with a rust converter, and applied a full coat of Woolwax. This is a lanolin-based undercoating that self-heals and doesn't trap moisture like rubberized undercoatings can.
New brake lines: I replaced all the rubber brake lines with stainless steel braided lines from Goodridge. They don't expand under pressure, so the brake pedal feels firmer. They're also more resistant to chafing than the factory rubber.
Wiring harness cleanup: I went through the entire wiring harness, securing it with zip ties, looms, and tape. Every connection that had been exposed to the elements was cleaned with electrical contact cleaner, treated with dielectric grease, and reinstalled with new connectors where needed.
The parts that went back on:
The same Dobinsons suspension (it was still good)
The same rear locker setup (still working perfectly)
The same 4.56 gearing (no issues)
New CV axles (originals were still fine, but I had them rebuilt and extended to handle the 2.5-inch lift)
New tie rod ends (originals had wear)
New steering rack bushings (polyurethane replacements)
What I'd Do Differently
The biggest mistake: Not doing the frame reinforcement earlier. I should have done the shock mount reinforcement when I installed the 2.5-inch coilovers, not after the factory mount cracked. The reinforcement costs $200-300 in parts and labor and prevents a $1,500 repair down the road.
The second biggest mistake: Not inspecting the body mounts during the initial build. They were wearing out and I didn't notice until I had the body off and could see the compressed rubber. New poly bushings are under $200 and made a real difference in body stability.
What I learned: A 2.5-inch lift is fine. But the factory suspension geometry wasn't designed for 40,000 off-road miles with that lift. Reinforce the mounts, or accept that you'll need to replace them eventually. I'm now on year three post-rebuild with no issues.
The Current Build Sheet (2025)
Here's what's on the truck today:
Suspension
Dobinsons MRR 2.5-inch coilovers, front 700 lb/in springs, rear medium-duty springs
Dobinsons long-travel rear shocks with remote reservoirs
SPC adjustable upper control arms
Durobumps bump stops (front and rear)
Extended rear sway bar links
Reinforced front and rear shock mounts
Drivetrain
4.56:1 Nitro ring and pinion gears (front and rear)
Eaton E-Locker (rear, selectable)
Front diff remains open
Driveshaft: stock, with upgraded U-joints
CV axles: extended-travel aftermarket units
Tires and Wheels
285/70R17 BFGoodrich KO2s (load range E)
Method Race Wheels 17x8.5, -12 offset
Spare: matching tire and wheel on the rear swing-out
Armor
RCI aluminum skid plates (full set: engine, transmission, transfer case, fuel tank)
Shrockworks sliders (bolt-on, with kick-out)
Front bumper: Shrockworks mid-width with winch mount
Rear bumper: Shrockworks with swing-out for spare tire and jerry cans
Recovery
Warn 9.5xp winch with synthetic rope
Factor 55 flatlink (no hook — safer, cleaner)
Snatch block, tree strap, shackles, soft shackles
Garmin InReach Mini 2 (satellite communication)
GMRS radio with external antenna
Air compressor: ARB Twin mounted in the engine bay
Electrical
Dual battery system: National Luna with group 31 house battery
Solar input: 100W panel on roof rack (keeps the house battery topped up)
LED lighting: Baja Designs LP6s on the bumper, Squadron Pros in the fogs
Interior lighting: dimmable LED strips in the cargo area
Charging: USB-C and 12V outlets everywhere
Storage and Camp
Goose Gear rear seat delete (flat platform for cargo)
Decked drawer system with slide-out fridge tray
Dometic CFX3 55L fridge
Roam Adventure Co. RTT (hard shell)
270-degree awning (Owl Outfitters)
Water: 5-gallon Rotopax cans on the swing-out
Fuel: 4-gallon Rotopax cans on the swing-out
What's Still Factory
Engine: 4.0L V6, no mods
Transmission: A750F 5-speed automatic, stock
Transfer case: factory, with 4-Lo
Interior: mostly stock (no crazy audio, no screens)
Brakes: stock calipers and rotors (they're fine for 33s; I don't need a BBK)
The Build's Failures: Lessons from the Wall
The Parts Graveyard wall has a section just for this truck. Here are the failures that taught me the most:
1. The First Rear Diff: 2021
Failure: The spider gears blew up. I was in rock, in 4-Lo, fully loaded, and I put too much torque through the rear diff with an open diff. The spider gears started to bind, then broke. I heard a loud bang and the rear end locked up.
Cause: The factory rear open diff in the 4Runner is built to handle 4,500 pounds of vehicle on stock tires with stock gearing. Add 500 pounds of armor, 300 pounds of gear, and 33-inch tires with 4.56 gears, and you're exceeding what the factory diff can handle on hard terrain.
Solution: The Eaton E-Locker I installed. It's stronger than the factory spider gears and gives me a locked rear axle.
Cost: $1,200 for the locker, $800 for install, plus the tow off the trail. That was an expensive day.
2. The Front UCA Ball Joint: 2022
Failure: The ball joint on the SPC UCA failed. The boot tore, the grease came out, and the ball joint started binding. The steering felt notchy and heavy.
Cause: I hadn't aligned the UCA properly on initial install. The ball joint was at the wrong angle, putting pressure on the boot, and eventually, it wore out.
Solution: I rebuilt the SPC UCA with new ball joints and correct alignment. I also switched to a higher-quality boot that held grease better. Since then, no issues.
Cost: $150 for new ball joints, $80 for alignment. Cheap lesson in the grand scheme.
3. The Electrical Fire (Minor): 2023
Failure: A loose wire in the dual battery system. The wire was under-spec'd for the winch draw and too close to the exhaust manifold. It melted the insulation and grounded out on the frame. There was smoke, a pop, and a dead battery.
Cause: Bad planning on the wire size and placement. I used a 4-gauge wire where I should have used 2-gauge. I ran it too close to the exhaust manifold.
Solution: Repaired the melted wire, used the correct 2-gauge welding cable, and routed it through the protected areas of the engine bay. I also added a protective sleeve.
Cost: $50 in wire and connectors, plus a weekend of frustration. The worst part was the embarrassment of creating a smoking hazard on my own build.
4. The Rear Coil Spring: 2024
Failure: A rear coil spring broke. I was loaded heavy on a five-day trip and hit a washout at speed. The spring broke about halfway down, sagging the rear end by two inches. The ride was terrible, and the spring was noisy.
Cause: It was a cheap spring from a budget lift kit. I'd upgraded everything else on the suspension but somehow never replaced the factory rear coils. The spring was under-sprung for the vehicle weight.
Solution: I installed the correct springs for the vehicle weight: Dobinsins rear springs, medium-duty (rated for 500-700 pounds of constant load). The ride improved, and the rear end is now level instead of sagging.
Cost: $300 for new springs and $150 for the install.
What I'd Do Differently (If I Was Starting Over)
If I could go back to day one with everything I know now, here's what I'd do differently:
1. Skip the Spacer Lift
I wasted $400 and six months on a spacer lift. It didn't work well, it didn't improve performance, and I ended up replacing it anyway. I should have bought the coilovers from the start and saved the time and money.
2. Re-gear Immediately
Running 33s on factory 3.73 gears cost me a front diff. The gearing was wrong from day one. If you're going to 33s, re-gear to 4.56 or 4.88 immediately.
3. Buy Correct Springs from the Start
The factory springs were never designed for the weight of armor, bumper, and gear. I should have bought springs matched to my vehicle weight from day one and saved the rear end sag.
4. Reinforce the Mounts Early
I should have reinforced the shock and control arm mounts when I installed the 2.5-inch lift. It's a $300 job that prevents a $1,500 repair.
5. Use the Correct Wire Gauge from the Start
The electrical fire I had was completely preventable. Always use wire thicker than you need, especially for high-draw items like winches. And route it away from anything that gets hot.
6. Don't Be Cheap on the Locker
A budget diff cover or an automatic locker might save you money up front, but you'll pay for it later. I spent more on repairs than I would have spent on a quality locker from day one.
What I Got Right
It's not all bad. Here's what I did right from the start:
1. Buy the Trail Trim
The 4Runner Trail is the sweet spot. It has a manual transfer case, the same suspension as the TRD Off-Road, and a rear locker (on the Tacoma, but not the 4Runner — still, it's the right platform for a build). It doesn't have the expensive TRD Pro suspension or the automatic crawl control, but it has the bits you need. I don't regret buying this trim.
2. Quality Armor
The RCI skid plates and Shrockworks sliders were worth every penny. They've taken hits that would have stranded me. The sliders are a must-have for any off-road build.
3. Good Tires
KO2s are not the lightest or the cheapest, but they're reliable. They've gotten me through mud, snow, rocks, and sand. They've taken a beating and kept going.
4. Selectable Rear Locker
The Eaton E-Locker has been flawless. It's engaged and disengaged hundreds of times now. No issues. It's the single best modification I made.
5. Dual Batteries
The National Luna system has been excellent. It gives me the redundancy and capacity I need for long trips, running the fridge and lights without draining the starter battery. I've never had a dead start battery on the trail.
The Future: What's Next
The truck is at a stable point now. It's capable, reliable, and I've addressed the major weak points.
Here's what I'm considering:
Long-travel suspension: More travel in the front, probably a mid-travel setup with extended CV axles and different UCAs. But this is expensive ($5,000+) and would require further reinforcement.
37-inch tires: I'd need to re-gear to 4.88, upgrade the steering rack, and modify the body mounts for clearance. It's a significant investment and changes the character of the vehicle.
Crawl control replacement: Not needed. I've got the transfer case and lockers. Crawl control is electronic.
Right now, the truck is exactly where I want it. It's reliable, capable, and fully sorted. No open issues, no broken parts, no lingering problems. That's rare for any built vehicle, and I'm not going to mess it up by chasing more upgrades just for the sake of upgrading.
For once, I'm going to let it sit, drive it, and not change anything.
The Takeaway
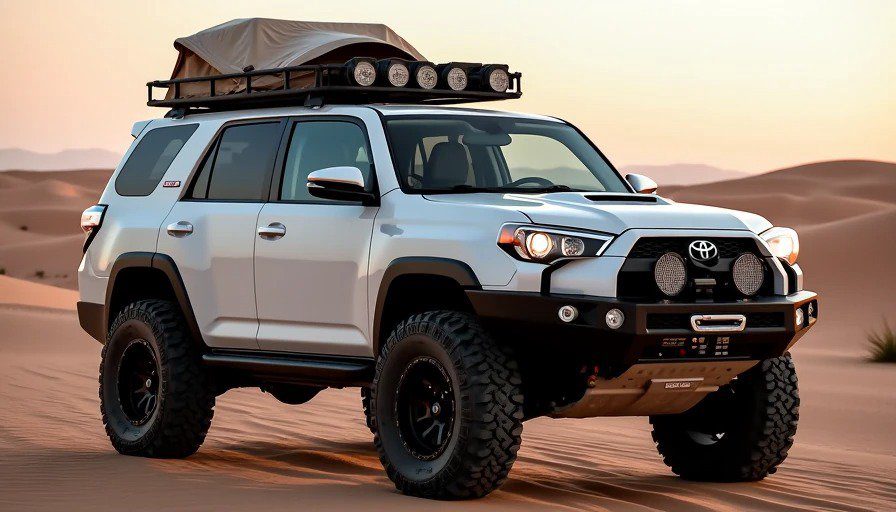
Building a 4Runner the right way means doing it twice. The first time, you do what you can afford and what seems cool. The second time, you do what works.
I've spent more money on this truck than I'd like to admit. But I've learned more from this truck than I've learned from any other vehicle. Every mistake was a lesson. Every broken part on the wall has a story.
If you're building a 5th-gen 4Runner, here's my advice:
Skip the spacer lift and buy proper coilovers.
Re-gear the diffs when you go to bigger tires.
Buy the right springs for your vehicle weight.
Reinforce the suspension mounts if you're going over 2 inches.
Use correct wire gauge and route it carefully.
Spend money on a good rear locker — it's worth it.
Don't skip the armor.
And most importantly, learn from my mistakes. They're expensive, and they're all documented on the Parts Graveyard wall.