Lightweight truck campers look simple until you drag one down a washboard road outside Flagstaff. Then every loose latch, undersized jack bracket, and overloaded rear spring introduces itself. I have spent enough time repairing rigs after the fact to know that lightweight truck campers are not automatically trail-ready. Low weight helps, but construction, center of gravity, tie-downs, and your truck's actual payload matter just as much.
The goal is not the biggest floor plan you can fit in the bed. The goal is a dry, balanced shelter that stays attached when the road turns into a long series of square-edged holes. If it hasn't broken in the backcountry, I don't recommend it. Here is how I evaluate these campers before trusting them beyond cell service.
Start With the Truck, Not the Floor Plan
Find the payload rating on the driver's door sticker, not in an old sales brochure. Payload includes passengers, fuel, tools, recovery equipment, water, food, and the camper. A half-ton truck showing 1,700 pounds of available payload can lose several hundred pounds before a camper ever gets loaded.
Weigh the truck empty and then weigh it again with the camper mounted and travel gear aboard. A realistic setup often includes 20 gallons of water, which adds roughly 167 pounds, plus batteries, propane, a cooler, recovery boards, and a spare tire. That can turn a claimed 1,050-pound dry camper into a 1,450-pound trail load quickly.
For lightweight truck campers, I want useful margin below the truck's ratings, not a scale ticket that lands within a few pounds of the limit. Rear axle capacity matters too. A suspension helper can reduce sag, but it does not increase the axle, wheel, tire, or frame rating. A truck that squats less is not necessarily a truck carrying less.
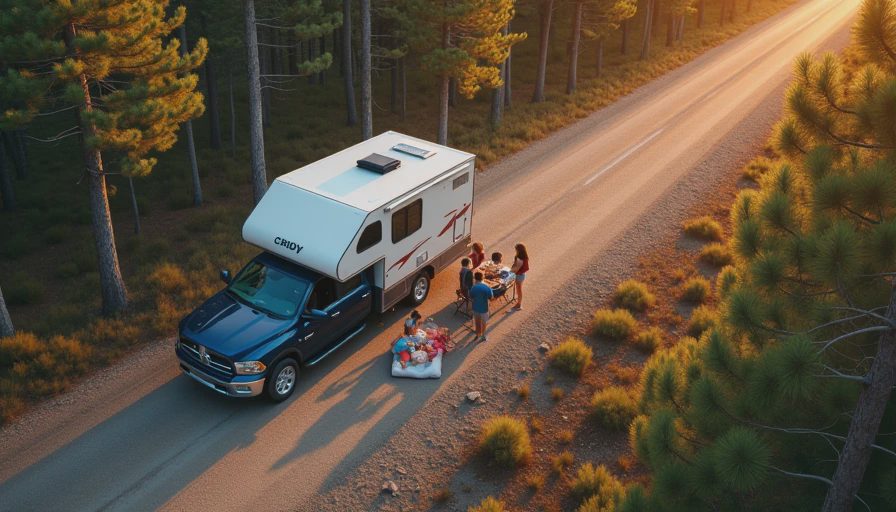
Where Weight Actually Hides
Manufacturers often advertise dry weight with empty propane bottles, no battery, no water, and sometimes no optional equipment. Ask for a wet, ready-to-travel weight. Then add your own numbers instead of trusting a glossy specification sheet.
The heavy items are easy to identify: refrigerator, battery, furnace, water tank, jacks, roof rack, and lift-top hardware. Their location matters. A battery mounted high and behind the rear axle affects handling more than the same battery tucked low near the front of the bed. A full water tank at the rear can make a short-wheelbase truck feel nervous on a downhill washboard section.
I prefer lightweight truck campers with a low center of gravity and simple systems. A pop-up roof can save weight and reduce wind resistance, but inspect the lift mechanism and canvas carefully. A hard-sided shell offers better cold-weather protection, yet it usually adds weight above the bed rails. Neither design gets a free pass.
Inspect the Structure Before You Buy
Walk around the camper and press on every exterior panel. Soft spots around windows, roof seams, corner moldings, and tie-down points deserve attention. Water intrusion rarely starts where you notice the stain. It often travels inside a wall before appearing at the floor or ceiling.
Open every cabinet and look behind plumbing access panels. You want clean wiring, supported pipes, and fasteners that are not pulling out of thin plywood. Check the bed platform underneath as well. A mattress hides a surprising amount of poor workmanship.
On several used lightweight truck campers, the first failure was not the shell. It was a loose jack mount or tie-down bracket that allowed movement. Once the camper shifts, stress reaches the floor, fasteners, and plumbing. The fix is not a stronger ratchet strap. The fix is finding why the load moved and repairing the structure with proper backing plates.
Brands such as Four Wheel Camper, Scout, and All Terrain Campers offer different layouts and construction approaches, but the badge is not an inspection. A well-maintained older unit can be better than a neglected new one. Bring a flashlight, a moisture meter, and enough time to crawl underneath.
Tie-Downs, Jacks, and Bed Fit
The camper must sit flat and make full contact with the bed or approved support points. Do not use a random stack of lumber to level a unit permanently. Wood can split, shift, and hold moisture against the bed. A purpose-built spacer or correctly fitted platform is easier to inspect and replace.
Frame-mounted tie-downs generally provide a more controlled attachment than improvised bed anchors. Whatever system you use, inspect the fasteners after the first few trips. Look for shiny metal around holes, cracked welds, bent brackets, or paint rubbed away by movement. Those marks are evidence, not cosmetics.
Jacks should be retracted and supported for travel. They are not outriggers for rough roads. Driving with jacks extended invites damage from side loads and makes the camper vulnerable to a bad rut. Carry a manual backup method for lowering the camper if an electric jack motor quits at camp.
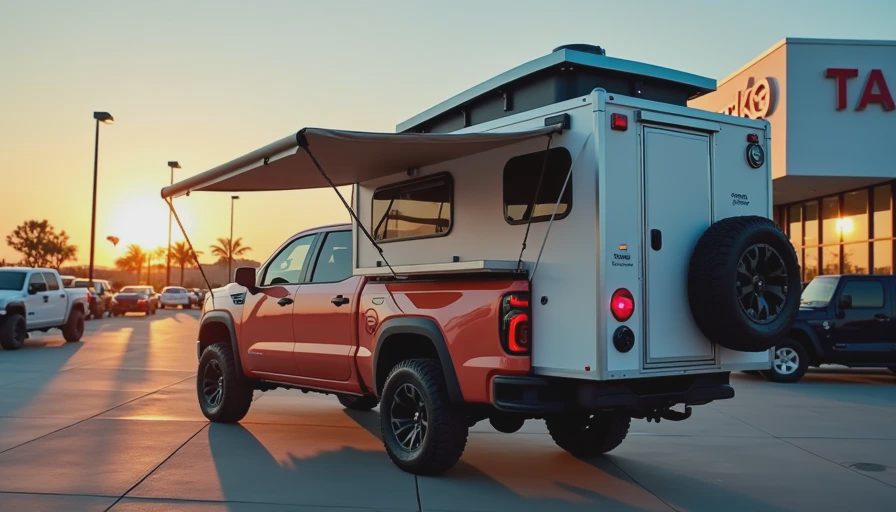
Suspension and Tire Setup
Once the camper is mounted, set tire pressures using the loaded axle weights and the tire manufacturer's load table. Do not blindly use the pressure printed on the door sticker after changing tire size, and do not drop pressure just because the road is rough. Underinflation with a heavy rear load creates heat and sidewall flex.
A quality rear spring pack, correctly matched shocks, and tires with adequate load capacity do more for control than decorative lift parts. On a loaded truck, I want the rear suspension to retain usable compression travel. If the bump stops are already touching on level pavement, the setup is not ready for a rocky trail.
Drive the rig around town before leaving. Check braking, steering return, lane changes, and body roll. Then find a graded dirt road and retorque the accessible hardware afterward. New noises are useful information when you investigate them early.
Systems That Are Worth Keeping Simple
A compact 12-volt electrical system is easier to diagnose than a maze of accessories. Use properly sized wire, protected connections, and a fuse close to the battery. Secure the battery so it cannot become a projectile on a hard impact. Test the refrigerator, water pump, heater, and lights separately before the first trip.
For lightweight truck campers, solar is helpful but not magic. A modest panel can maintain a battery during sunny parking, while several cloudy days and a compressor refrigerator change the calculation. Carry a way to charge or conserve power. I would rather have a clearly labeled fuse box and a spare fuse kit than three untested gadgets mounted to the roof.
Water systems deserve the same attention. Protect exposed lines from freezing and abrasion, keep the drain accessible, and carry a repair section of hose. A tiny leak under the sink becomes a soaked floor when the camper is bouncing for six hours.
A Field-Test Checklist Before the Big Trip
Load the camper exactly as you will travel, including food, water, tools, and recovery gear. Weigh each axle, verify tire capacity, and measure clearance between the camper and cab. Open the rear door and cabinets after a rough test drive to find anything that has migrated.
Then inspect the roof seal, windows, jacks, tie-downs, propane mount, battery restraint, and exterior lights. Check that the entry door closes without forcing it. A door that binds can indicate chassis flex, a shifted camper, or a damaged frame.
For a first outing, choose a route with an easy exit rather than a remote canyon. Camp one night, cook normally, use the heater, and sleep through temperature changes. That short test exposes more than a parking-lot walkthrough. Pack a spare water fitting, electrical connectors, fuses, hose clamps, and the tools needed to reach every critical fastener.
Lightweight truck campers reward careful setup. They reduce the burden on the truck, but they do not eliminate engineering, weighing, or inspection. Choose a simple unit, keep the center of gravity low, and fix small movement before it becomes a recovery story. The right camper should disappear behind you on the trail, leaving your attention for the route instead of the next broken part.