Removing lr3 feul injector work is not difficult, but it is not a job for rushing with a hot engine and a trouble light. The Land Rover LR3, sold with the 4.0-liter V6 or 4.4-liter V8 in the United States, packs the fuel rail beneath intake plumbing and electrical connectors that have spent years baking in engine heat. The actual injector swap is straightforward. The preparation is what keeps your garage from smelling like gasoline for a week.
I have done this job on older trail rigs where every plastic connector wanted to become gravel. Plan for brittle clips, stuck injector seals, and a little fuel trapped in the rail. If you work methodically, you can finish in an afternoon. If you force a connector, you can turn a $100 injector repair into a tow bill and a much larger intake repair.
What you need before removing an LR3 fuel injector
Gather the replacement injector, new upper and lower O-rings, a small pick, long-nose pliers, clean engine oil, shop towels, safety glasses, and a fire extinguisher rated for gasoline fires. Use the correct injector for your engine and model year. The V6 and V8 systems are not interchangeable simply because the connectors look similar.
You will also need basic metric sockets, a torque wrench, a fuel-pressure gauge if available, and a scan tool for clearing codes after the repair. A bright inspection light helps you see the retaining clips without leaning your face over the rail. Do not use a shop light with a hot halogen bulb around spilled fuel.
Before removing lr3 feul injector parts, record the original injector locations and take photographs of every hose, bracket, and connector. Label connectors with masking tape. The engine bay has several similar-looking plugs, and guessing becomes expensive when the engine will not start afterward.
Depressurize the fuel system first
Start with a completely cool engine outdoors or in a well-ventilated garage. Keep cigarettes, heaters, welders, battery chargers, and trouble lights away from the work area. Disconnect the negative battery cable after saving any radio or security settings you need. Never rely on a rag to contain fuel vapor.
The cleanest approach is to remove the fuel pump fuse or relay, start the engine, and let it run until it stalls. Crank it for a few additional seconds, then switch the ignition off. The exact fuse location depends on the LR3 fuse-box layout, so verify it against the vehicle handbook rather than pulling random fuses. Even after pressure is relieved, open the fuel connection slowly with a towel wrapped around it. A small amount of fuel will remain in the rail.
This is the point where removing lr3 feul injector work either stays controlled or becomes a mess. Put absorbent pads below the rail and keep a capped container nearby for contaminated fuel. If gasoline reaches your eyes or skin, stop and wash immediately. Fuel vapors are heavier than air and can travel across a garage floor to an ignition source.

Accessing the LR3 fuel rail
Remove the engine cover and intake ducting as needed for your engine. On the V8, access around the intake manifold and fuel rail can be tight. The V6 has its own routing and connector arrangement, so do not follow a V8 video blindly. Photograph vacuum hoses before moving them, especially if an old hose feels soft or cracks at the end.
Clean the area around the injectors with compressed air before disconnecting anything. Dirt around an open injector port goes straight into a place where it does not belong. Unplug each injector by releasing its connector lock rather than pulling on the wires. If a clip is stuck, use a pick carefully and support the connector body.
Remove the fuel-rail fasteners and lift the rail evenly. Do not pry hard against the intake manifold. The injectors may stay in the rail or remain seated in the intake, depending on which seal has gripped. Keep track of every spacer, clip, and bracket. A magnetic tray beats searching through gravel under the truck.
Removing the injector without damaging the rail
Once the rail is loose, gently twist the injector while pulling it straight out. Do not lever against the plastic injector body with a screwdriver. If an injector is stuck, apply a small amount of clean engine oil around the exposed seal and work it with a slow twisting motion. Pliers should grip only a sturdy metal section, never the connector or plastic cap.
For removing lr3 feul injector components, replace both O-rings rather than reusing old ones. A seal that looks acceptable can flatten during reassembly and leak when the rail is pressurized. Remove old seals with a plastic pick or blunt tool. Avoid scratching the injector groove or the rail bore.
Compare the old and replacement injectors side by side. Check connector shape, body length, nozzle arrangement, and part number. Transfer any retaining clips only if the replacement design requires them. Lightly coat new O-rings with clean engine oil. Do not use grease, silicone, or thread sealant on a gasoline injector seal.
Reassembly and leak testing
Seat each injector squarely in the rail and intake. Press the rail down evenly by hand before reinstalling its fasteners. Start every bolt by hand, then tighten using the manufacturer’s torque specification. I will not invent a torque number here because specifications differ by engine and fastener location; use a factory service manual or reliable repair database for your exact LR3.
Reconnect every injector plug until its lock clicks. Reinstall intake ducting, vacuum lines, brackets, and the engine cover. Look for pinched wires or hoses trapped beneath the rail. A connector that clicks is not automatically a connector that is fully seated, so give each one a gentle tug.
Reconnect the battery and reinstall the fuel pump fuse or relay. Turn the ignition on for several seconds without starting, then turn it off. Repeat this two or three times to build pressure. Inspect every injector and rail connection with a dry paper towel. Any wet fuel, strong expanding fuel smell, or dripping means stop immediately and correct the leak before starting the engine.
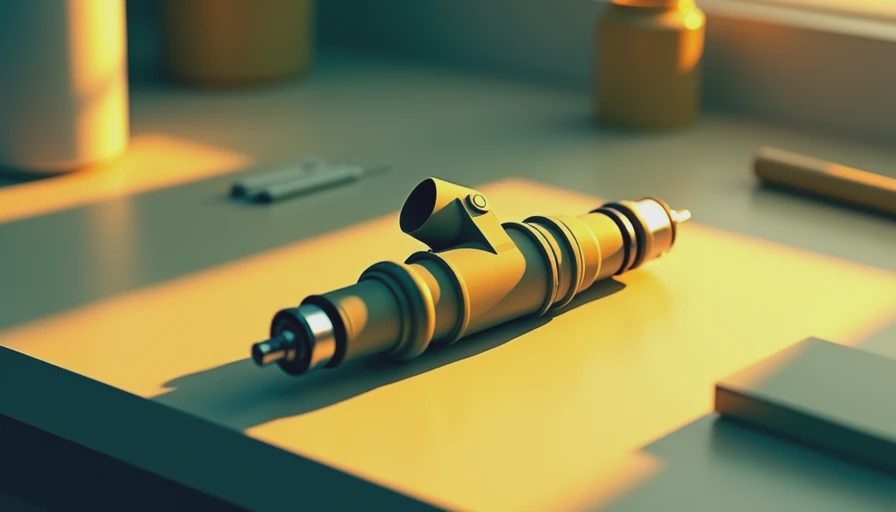
Troubleshooting after removing an LR3 fuel injector
Start the engine and let it idle while watching for leaks and listening for an uneven miss. A short crank may be normal while the rail fills, but extended cranking deserves investigation. Scan for codes such as P0300 through P0308, which indicate misfire detection, or cylinder-specific injector circuit codes. A misfire can come from a connector left loose, a damaged O-ring, an incorrect injector, or an ignition problem unrelated to the repair.
If the engine runs rich, inspect for an injector that is not seated or is leaking internally. If one cylinder remains dead, swap the suspected injector with another location only when the wiring and seals are sound, then see whether the fault follows the injector. That simple test separates an injector problem from a coil, plug, compression, or wiring fault.
After removing lr3 feul injector parts, clear stored codes only after recording them. Take the vehicle for a short drive, then recheck the rail with a flashlight and paper towel. Do not crawl beneath a running vehicle to inspect a fuel leak. Shut it down first.
A fuel injector job is a repair where patience matters more than expensive equipment. Keep the work clean, use new seals, verify the part number, and pressure-test the system before you trust the truck on a remote road. I have seen a tiny pinched O-ring turn a normal repair into a roadside fire-risk inspection. If it hasn't broken in the backcountry, I don't recommend it.