When a loaded 4Runner is sitting crooked on a forest road outside Flagstaff, the jack is not a convenience. It is recovery equipment. The bottle jack vs floor jack question comes down to where you work, what you drive, and whether the ground under you is flat, hard, and cooperative. In a garage, one tool usually wins. On a rocky trail, the answer gets more complicated.
I have used both styles under solid axles, frame rails, and lifted trucks. I have also watched people turn a simple tire change into a dangerous circus because they brought a jack that could lift the vehicle but could not stay stable. A jack is only half the system. You also need a level lifting point, a base that will not sink, and properly rated jack stands whenever you are working beneath a vehicle.
What separates a bottle jack from a floor jack?
A bottle jack is a compact hydraulic jack with a vertical piston. It looks like a steel bottle and takes up very little room. Most common models lift between 6,000 and 12,000 pounds, though capacity alone does not make one suitable for every rig. The narrow base and small lifting head are useful in tight spaces, especially beneath an axle tube or a reinforced frame section.
A floor jack uses a horizontal hydraulic cylinder and a long handle. Its wheels let the jack roll as the lifting arm rises, which helps it follow the vehicle's movement instead of dragging across the floor. The broad saddle and wide stance make it much more stable on concrete. A typical shop jack is heavier, longer, and easier to position precisely, but it is miserable cargo on a multi-day overland trip.
In practical terms, the bottle jack saves space and carries serious weight. The floor jack provides better stability, reach, and control. That is the heart of the bottle jack vs floor jack comparison.
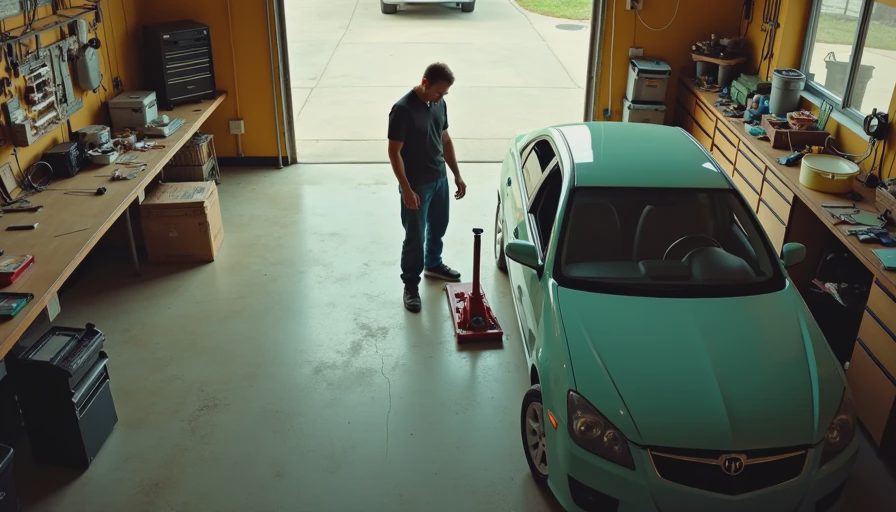
Bottle jack strengths and trail limitations
The best argument for a bottle jack is packaging. A compact 12-ton unit can fit behind a rear seat, under a drawer system, or in a recovery box without consuming the space required by a three-ton floor jack. It also has plenty of lifting force for a Tacoma, Jeep Wrangler, Land Cruiser, or half-ton pickup when used at a manufacturer-approved lifting point.
Bottle jacks are especially handy for solid-axle vehicles. If a tire is buried in a rut, lifting beneath the axle can raise the wheel without lifting the entire body. That can save travel and reduce the chance of running out of jack stroke. Some off-roaders also carry a steel adapter that fits over the bottle jack saddle and contacts the axle more securely.
The limitations are serious. A bottle jack has little lateral stability. If the vehicle shifts, the jack can lean or walk. Its minimum height may also be too tall for a stock vehicle with a deflated tire, while its maximum height may not reach a truck with a large lift. On sand, mud, or loose gravel, the small base can sink quickly. A thick steel plate, purpose-built jack base, or solid hardwood block can help, but improvised supports still require careful inspection.
Floor jack strengths and garage limitations
A floor jack is the better tool for routine maintenance in a garage. Its long handle lets you pump from outside the vehicle, and the rolling chassis makes controlled lifting easier. A low-profile model can reach jacking points on lowered vehicles, while a high-lift off-road floor jack can reach frame rails on modified trucks. The broad saddle also reduces the chance of slipping off a small contact point.
For brake work, suspension repairs, and tire rotations, the floor jack gives you better control. You can lift one corner, place a stand, and reposition without repeatedly dragging the tool. A quality 2.5- or 3-ton jack often costs roughly $150 to $350. Heavy-duty professional models can cost considerably more, but they generally offer stronger wheels, better seals, and a longer service life.
The drawback is size. A floor jack can weigh 70 pounds or more, and its wheels are nearly useless on a rocky two-track. Even a compact aluminum racing jack is not a sensible replacement for a trail jack when the ground is uneven. Never assume the rolling design makes it safe on dirt; wheels can dig in or shift as the load changes.
Bottle jack vs floor jack for an overland rig
For an overland vehicle, I treat the bottle jack as a trail-specific tool, not a universal shop replacement. It is easier to store and usually offers enough capacity for axle work. Before trusting it, test it at home with your actual vehicle. Check the minimum height with a fully deflated tire, the maximum height at your lifting points, and the amount of handle clearance beneath the rocker panel.
A floor jack belongs in the garage if you have room for it. Use it for inspections, wheel swaps, control-arm work, and suspension installation. A bottle jack belongs in the truck if it can reach your axle or frame, fits your storage system, and works with a stable base. Many serious rigs carry both: the floor jack stays in the shop, while the bottle jack rides with recovery gear.
Capacity deserves attention. Do not select a jack based only on the vehicle's advertised curb weight. A loaded expedition truck can be substantially heavier after armor, drawers, water, fuel, tools, and camping equipment. Select a rated capacity with a practical margin, and lift only the portion of the vehicle supported by the jack. The jack is not meant to hold the whole truck unless its rating and setup are appropriate.

The safe setup matters more than the jack style
Park on the firmest, most level surface available. Put the transmission in park or in gear, set the parking brake, and chock wheels that remain on the ground. Use the factory lifting points or strong suspension locations specified for the vehicle. Keep the jack saddle centered, and raise the vehicle slowly while watching for tire movement, base sinking, or body shift.
Once the vehicle reaches the required height, place jack stands under approved support points. Lower the load onto the stands and give the vehicle a cautious push from the side before doing any work. Never put a body part beneath a vehicle supported only by a hydraulic jack. Hydraulic seals can fail without warning, and a jack can tip even when it is not defective.
On dirt, increase the footprint instead of stacking loose rocks. A purpose-built recovery base is preferable. If you use a thick board, keep it flat, intact, and large enough to distribute the load. Do not use concrete blocks, unstable scraps, or a pile of thin boards. Those shortcuts belong in the Parts Graveyard.
My practical choice for the garage and trail
The bottle jack vs floor jack decision is simple once the job is defined. Choose a floor jack for garage maintenance, precise positioning, and repeated suspension work. Choose a bottle jack for compact trail storage, solid-axle tire changes, and situations where cargo space matters more than rolling convenience.
Before buying, measure three things: the jack's collapsed height, its maximum lift, and the exact clearance at your vehicle's approved points. Then measure again with the tire deflated and the rig loaded for travel. A $40 jack that cannot reach the axle is not a bargain; it is dead weight when the sidewall is cut 20 miles from pavement.
My own rule is blunt: carry the smallest jack that safely fits the real job, not the catalog photograph. Test it before the trip, carry a stable base, and pack stands for garage work. If it has not broken in the backcountry, I do not recommend it.