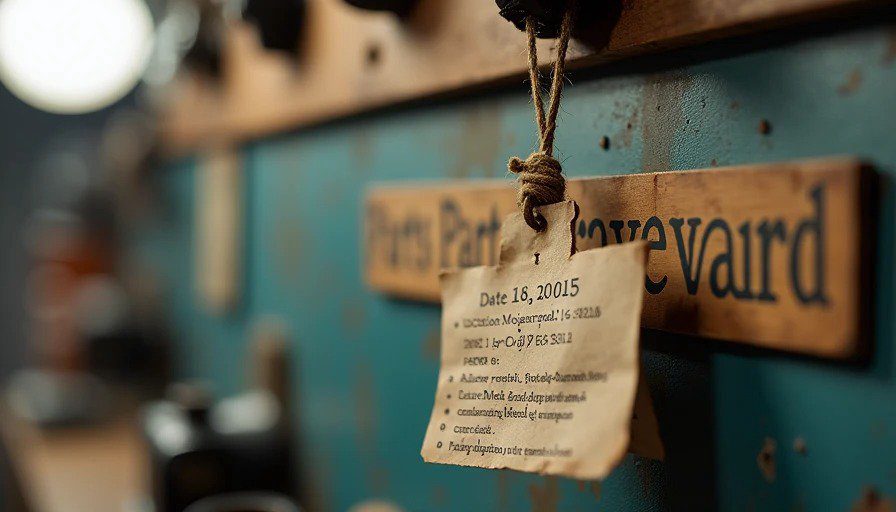
This is the first entry in the Parts Graveyard.
It's not a trophy wall. It's a classroom. Every broken part hanging in my shop has a story, a date, a GPS coordinate, and a cause of death. And every one of them taught me something I wouldn't have learned any other way.
The CV axle you're about to read about died on the Mojave Road in June of last year. 105 degrees. 40 miles from pavement. A split boot, a cooked bearing, and a long walk back to the truck that had to tow me out.
I could have replaced it and moved on. Instead, I brought it home, cut it open, and figured out exactly what went wrong.
Here's what I found.
The Setup: What We Were Running
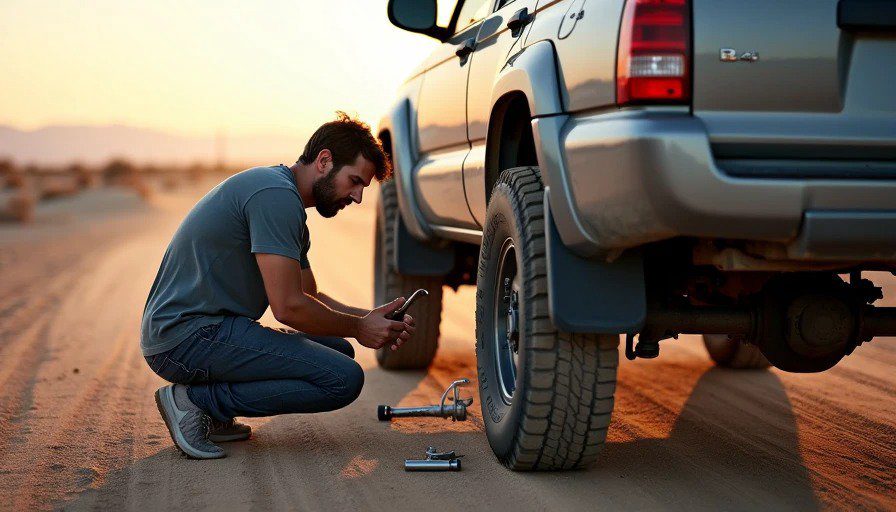
The axle came off a 2016 4Runner Trail — my rig. Five years of mods, plenty of trail miles, and a CV axle that had been through at least three previous trips without complaint.
Here's what the build looked like at the time of failure:
Suspension: 2.5-inch lift with aftermarket UCAs
Tires: 285/70R17, aired down to 20 psi for the Mojave
Drivetrain: Stock CV axles, no upgrades
Miles on the axle: About 35,000 total, maybe 8,000 of those off-pavement
Pre-trip inspection: I looked at the boots. Both looked fine. No cracks, no weeping. I even poked them with a screwdriver to check for soft spots. Nothing.
Forty miles in, the driver-side boot split open. I didn't notice until the grease started flinging onto the exhaust and smoking under the hood.
By the time I stopped and got under the truck, the boot was torn in two places, grease was everywhere, and the joint had been running dry for at least a few miles. The damage was done.
What It Looked Like at the Trailside
When I pulled the axle out at camp that night, the outer joint was rough to turn by hand. Not seized, but gritty. Like turning a ratchet with sand in the mechanism.
The boot had two tears — one about an inch long, one smaller. Both were on the inboard side of the outer boot, right where the rubber bends at full articulation. That's the spot that flexes the most. That's also the spot where heat and age make rubber brittle.
The grease that was left inside had changed color. Normally, the CV grease is a dark gray or black. This one was lighter, almost brownish, with a runny consistency. That's the first sign of heat contamination — when grease starts to separate, it loses its viscosity and turns runny.
I cleaned the outside of the joint with brake cleaner, packed it with a tube of grease I had in the recovery kit, and used a CV boot repair kit I carry specifically for situations like this. It got me 45 miles to pavement. Not a permanent fix. But it held long enough.
When I got home, the joint was knocking. The repair got me out, but the axle was done.
The Autopsy: Cutting It Open
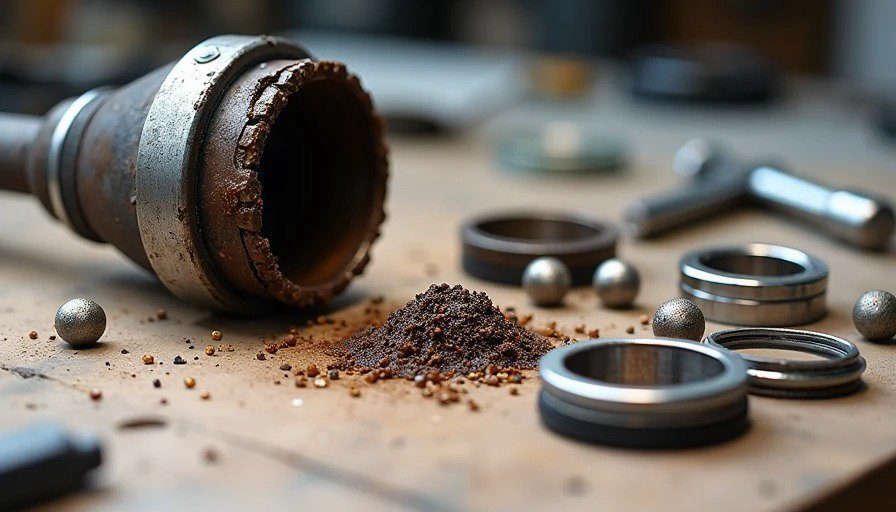
Back in the shop, I pulled the axle apart. Here's what the teardown revealed, step by step.
Step 1: Removing the Outer Joint
The outer CV joint is held together by a circlip and the internal geometry of the cage. I used a press to pop the joint off the shaft. The joint came off with a lot more resistance than it should have — the grease had turned into a thick paste that was binding the ball bearings in their tracks.
What I saw: The grease was packed with metallic particles. You could see them. Tiny silver flecks suspended in the brownish paste. That's bearing material wearing off the races and the balls.
What it means: When the boot split and let dirt and water in, the grease lost its ability to lubricate. The metal parts started running against each other directly. Once that starts, it doesn't stop — the particles in the grease accelerate the wear.
Step 2: Inspecting the Cage and Balls
The cage — the piece that holds the ball bearings in place — was still intact. No cracks, no broken fingers. But there was scoring on the inside surfaces where the balls had been riding. Not deep, but visible as fine lines running in the direction of rotation.
The balls themselves showed the same scoring. Small lines across the spherical surface, visible under a bright work light.
What it means: This is the early stage of bearing failure. Not catastrophic yet, but the clearances are opening up. The joint starts to knock under load because the balls have room to move side to side.
Step 3: The Inner Race — Where the Real Problem Was
The inner race is the part of the axle that the balls ride against. It's hardened steel, designed to handle hundreds of thousands of miles. But when the grease fails, heat builds up.
I cut the inner race open with a cutoff wheel to see the contact pattern inside. The race surface was heat-scored — blue and brown discoloration on the steel where the bearing surfaces had been running hot. The wear was deepest on the outboard side of the race, which matches the articulation angle the axle was running at when the boot failed.
Heat scoring visible: Blue-purple discoloration on the steel surface, concentric wear rings where the balls had been running, and small pits where the surface had started to degrade.
What it means: The heat from running without adequate lubrication reached high enough temperatures to soften the hardened surface of the race. Once that happens, wear accelerates exponentially. The race can't hold the balls in tolerance anymore. The joint starts to knock, vibrate, and eventually fail.
Step 4: The Boot — The Root Cause
The boot itself was the starting point of all of this. I cut the boot open along the seam to see what the rubber looked like from the inside.
What I saw: The rubber had cracks running through the entire thickness of the material. It wasn't just a tear from a rock impact — it was full-depth cracking that started at the point of articulation and spread outward. The inside of the boot was hard, almost brittle, compared to the outside.
What it means: This boot had been degraded by heat and time. 35,000 miles on the axle, many of them in the Arizona and Mojave heat, and the rubber had lost its flexibility. The cracks started small and grew with each cycle of compression and extension. The final tear was just the point where the rubber gave way.
The Three Failure Modes
This axle didn't fail for one reason. It failed for three, in sequence.
Failure 1: Boot Degradation
The boot was old and heat-damaged. The rubber was stiff and brittle, especially at the flex points. The tears didn't happen because a rock hit it — they happened because the rubber couldn't flex anymore.
What I should have checked: Not just "is the boot torn?" but "how pliable is the rubber?" A boot that's still intact but stiff is a boot that's about to fail. I should have replaced it before the trip. I didn't. I looked at it, thought "looks fine," and went anyway.
Failure 2: Contamination
Once the boot tore, dirt and water got into the joint. I was running in sandy, dusty conditions. The sand worked its way into the grease, turning it into a grinding paste. Then a river crossing (the Mojave River crossing on Day 1) introduced water, which emulsified the grease and washed away the lubrication.
What I should have done: Checked the axle at the first sign of noise or smoke on the exhaust. I smelled burning grease but assumed it was something else. By the time I stopped, the contamination had already worked its way into the bearings.
Failure 3: Heat Scoring
The combination of contaminated grease, high load, and sustained washboard vibration built heat in the joint. The outer joint runs at a constant angle in a lifted vehicle, which means the bearings are under load even when you're driving straight. That load + friction + no lubrication = heat. The heat softened the race surface and accelerated wear.
What I should have done: Run a lower angle by using a diff drop or correcting the suspension geometry. A 2.5-inch lift pushes the CV angle steeper than stock. That's fine for a while. But combined with the other factors, it was too much.
What You Can Learn from This
Here's what I took away from this autopsy, and what you should know before your next trip.
Check Your Boots Correctly
A visual inspection is not enough. You need to:
Feel the rubber. Squeeze it. Is it pliable, or is it stiff? If it's stiff, replace it.
Look for weeping. If you see a thin film of grease on the outside of the boot, that's a sign that the rubber is seeping through microscopic cracks.
Inspect the flex points. The boot fails where it bends the most. Look for cracks in those spots.
Check it regularly. Don't just do it once. Boots degrade slowly. The crack that started on your last trip might be the tear that leaves you stuck on the next one.
Carry a Boot Repair Kit
I carry this in my recovery kit:
A universal CV boot repair kit (the kind that wraps around the boot with zip ties)
A tube of grease
Brake cleaner to flush out contaminated grease
Spare zip ties
Clean rags
It's a 20-minute trailside repair that can save your trip. It's not a permanent fix, but it'll get you to pavement.
Consider Upgraded Axles
If you run a lifted rig in hot climates, you might want to consider aftermarket CV axles with:
Better boot material — some are silicone-based and handle heat better
Grease fittings — so you can purge and refill the grease
Reinforced cages — for more durability under hard use
Stock axles are fine for moderate builds. But if you're pushing the limits, they become the weak link.
Lift Responsibly
A 2.5-inch lift pushes CV angles past what the stock parts were designed for. You can mitigate this with:
A diff drop — lowers the front differential by an inch or two, reducing the CV angle
Proper bump stops — prevents full compression from over-angling the joint
Keep the boots fresh — replace boots proactively every few years
The Tag on the Wall
I hung this CV axle on the Parts Graveyard wall with the following tag:
DATE: June 18, 2025
LOCATION: Mojave Road, N35°12' W115°45' — approximately 40 miles west of Afton Canyon
PART: CV Axle, driver side outer joint, OEM replacement
MILES ON PART: 8,000 off-road, 35,000 total
FAILURE MODE: Boot degradation → contamination → heat scoring
CAUSE: Pre-trip inspection caught the outside of the boot but didn't catch the condition of the rubber. Preventable by replacing the boot proactively every 3-4 years in hot climates.
LESSON: A boot that "looks fine" is not the same as a boot that is fine. Check the rubber, not just the surface.