A ford maverick lifted two inches can be a useful little trail rig, but only if the parts work together. I have seen plenty of compact trucks gain clearance in a driveway and lose steering control before reaching the dirt. The Maverick is not a full-size body-on-frame truck, so you cannot simply copy a Tacoma recipe and expect the same result. Start with the suspension design, tire size, payload, and the kind of roads you actually drive. If it has not broken in the backcountry, I do not recommend it.
What a lift really changes
A lift does more than move the body higher. It changes control-arm angles, axle articulation, alignment range, ride quality, and the load placed on CV joints. On a front-wheel-drive Maverick, those front half-shafts deserve particular attention. On an all-wheel-drive model, the same concern applies while the rear driveline adds another set of angles and seals to inspect.
For most daily-driven Mavericks, a 1.5- to 2.5-inch suspension lift is the sensible range. That is enough room for a more aggressive tire without turning the truck into a top-heavy science project. A spacer-only kit can provide height, but it does not automatically provide better travel or stronger components. A complete kit should include correctly matched springs or spacers, hardware, alignment guidance, and a way to protect the original bump-stop relationship.
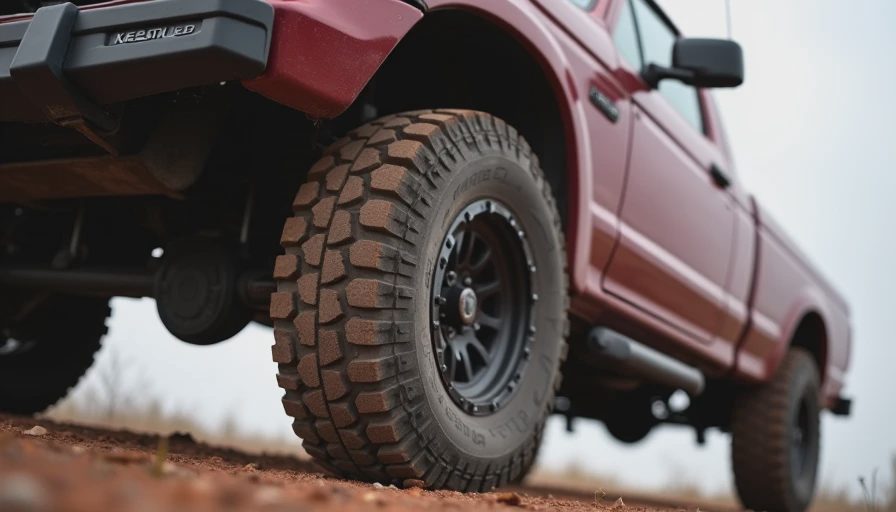
The popular ford maverick lifted setup usually pairs a modest lift with 245/65R17 or 245/65R18 all-terrain tires, depending on wheel width and offset. Tire clearance at full steering lock matters more than what looks good in a parking lot. Check the front liner, pinch weld, sway-bar area, and rear edge of the wheel opening while the suspension is compressed.
Tire and wheel fitment without guesswork
The tire is where many builds quietly go wrong. A heavier all-terrain tire can add several pounds at each corner, increasing braking distance, steering effort, and suspension load. Falken Wildpeak A/T Trail, Toyo Open Country A/T III, and General Grabber A/TX are examples of tires people commonly consider for a compact adventure truck, but the correct choice depends on size, load rating, weather, and highway use.
Wheel offset is just as important as diameter. A wheel that pushes the tire too far outward can increase scrub radius and put more stress on wheel bearings. One that sits too far inward can rub the strut or sway bar. Before ordering, measure from the hub face to the closest obstruction, then compare that measurement with the wheel manufacturer’s offset and backspacing data.
A ford maverick lifted with 245-width tires may need small liner adjustments, while a 255-width tire can create rubbing during compression even when it clears at normal ride height. Do not solve rubbing with a torch until you know exactly what is touching. A trimmed liner is one thing; cutting structural metal or exposing wiring is another.
Suspension parts that deserve scrutiny
Inspect the upper strut mount, lower control-arm bushings, ball joints, tie-rod ends, and CV boots before installing a lift. Adding height to a worn front end only makes the old problem harder to diagnose. After installation, torque fasteners at the specified ride height where required, then get a four-wheel alignment. A steering wheel that sits crooked is not a cosmetic issue; it usually means toe is wrong.
I like to recheck every accessible fastener after the first 50 to 100 miles, then again after a rough trail day. Look for shiny witness marks around bolts, torn rubber, grease flung from a CV boot, and uneven shoulder wear on the tires. On washboard roads near Flagstaff, loose hardware announces itself quickly. Usually it starts as a rattle and ends as a recovery problem.
A ford maverick lifted for camping should also receive a conservative shock setup. Extremely stiff shocks can make a light truck skip across washboard, while weak shocks allow repeated bouncing and heat buildup. The best setting is the one that keeps the tires planted without making every expansion joint feel like a curb.
Ground clearance, skid plates, and recovery points
More ride height does not protect the oil pan, transmission, fuel system, or rear differential. Measure the lowest vulnerable component before and after the lift. Then protect the parts that can strand you. A steel or aluminum skid plate should mount to strong points, avoid trapping mud, and leave room for service access. A decorative plate that bends into the oil pan is not armor.
Recovery equipment deserves the same skepticism. Use rated recovery points designed for the vehicle, not a random tie-down loop or thin bumper bracket. A kinetic rope transfers significant force, so a recovery point must handle shock loading. Carry soft shackles, gloves, a shovel, and a way to communicate when the truck is beyond cell coverage. The lift does not make a bad recovery plan safer.
The ford maverick lifted build I would take onto a moderate forest road has skid protection, a full-size spare if packaging allows, a tire repair kit, and a compressor sized for the tire volume. It does not need a giant roof tent or a 12,000-pound winch. Extra weight is still extra weight, especially on a compact platform.
How the lift affects daily driving and insurance
Drive the truck on pavement before heading into rocks. Listen for clicking during tight turns, vibration under acceleration, and clunks over speed bumps. Check whether the headlights now point too high and whether the rearview camera view has changed. A professional alignment is money well spent after any suspension change, usually costing around $100 to $200 depending on the shop and region.
Tell your auto insurer about major modifications, including a suspension lift, larger wheels, specialty equipment, and expensive skid plates. Standard policies can have limits or exclusions for custom parts unless you add appropriate coverage. A ford maverick lifted with several thousand dollars in upgrades should have its equipment documented with receipts and clear photographs. Ask whether collision and comprehensive coverage applies to the added parts, and understand the deductible before a claim happens.
Insurance pricing depends on the driver, location, use, vehicle, and carrier. Progressive, State Farm, GEICO, and regional insurers can treat modifications differently, so compare written coverage rather than assuming the cheapest quote protects the whole build. If the truck is used for business, guided trips, or frequent off-road events, explain that use accurately.
A practical build order
Build in stages. First, inspect the stock suspension and decide on tire size. Second, install the lift and alignment components. Third, fit tires and check clearance at full lock and compression. Fourth, add skid protection and recovery equipment. Fifth, load the truck as you actually travel and repeat the clearance check. A spare tire, cooler, tools, passengers, and camping boxes can change rear ride height and handling.
Before a longer trip, perform a driveway inspection with a torque wrench, flashlight, tire gauge, and pry bar. Record tire pressures cold, look for leaks, and carry the original fasteners in a labeled bag. After the first dirt outing, wash the underside and inspect again. Mud hides loose bolts remarkably well.
A ford maverick lifted carefully can be a capable backroad truck that remains comfortable on Monday morning. Keep the lift moderate, keep the tires reasonable, protect the underside, and watch the front-end angles. The flashy build is easy to photograph. The reliable one is the truck that comes home under its own power.